You pick up your favorite camera after months of storage and open the battery compartment only to find a crusty white mess coating everything inside. Battery corrosion camera repair is something every camera owner faces at least once, and it looks terrifying, but trust me — it is absolutely fixable.
Learning how to clean battery corrosion in a camera can save you hundreds of dollars in professional repair costs. This guide walks you through every single step clearly, so you never have to throw a good camera away again.
Battery corrosion destroys cameras, but white vinegar, isopropyl alcohol, and a fine file can restore your corroded terminals and save your camera at home in 12 easy steps.
In this article, we discuss “how to clean battery corrosion in a camera.”
How to Clean Battery Corrosion in a Camera
Battery corrosion camera symptoms can range from mild white powder to thick crusty buildup that completely blocks the terminals and kills your camera dead. Knowing how to clean battery corrosion in a camera the right way makes all the difference between saving your device and sending it to the trash.
The root cause of camera battery compartment cleaning challenges is almost always alkaline battery leakage, camera damage caused by potassium hydroxide eating through metal contacts over time. Acting fast the moment you spot any signs of battery leakage, is your best defense against permanent damage to your camera.
What Causes Battery Corrosion in Cameras?
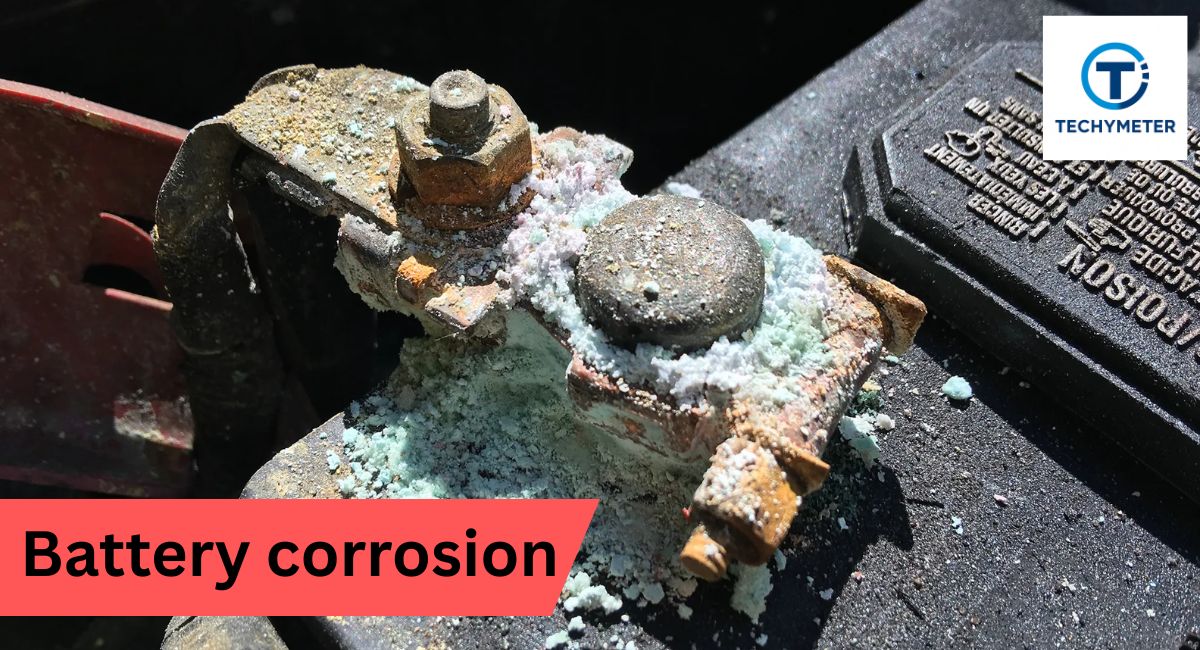
Understanding what causes battery corrosion in cameras starts with basic chemistry that every camera owner should know. Alkaline batteries contain potassium hydroxide — a powerful caustic agent that eats through metal terminals rapidly when exposed to air.
As a battery ages or fully discharges, it produces hydrogen gas pressure inside the casing that forces potassium hydroxide outward through any weak battery seal corrosion gap it finds. That leaked chemical then reacts with carbon dioxide to form potassium carbonate — the feathery white residue battery owners commonly discover coating their battery holder terminals.
Is Battery Corrosion in a Camera Dangerous?
Yes — is battery corrosion dangerous for cameras? It is a question you should take seriously on two very important levels. First, potassium hydroxide is a strong caustic agent that burns skin on contact and causes serious eye damage if splashed toward your face.
Always wear rubber gloves, battery cleaning protection, safety glasses, and battery corrosion shields before touching anything corroded inside your camera. Second, corroded terminal camera damage does not stop at the surface — it spreads along wiring and destroys internal circuit boards, making camera battery damage repair far more expensive the longer you wait.
How to Tell If Your Camera Battery Compartment Is Corroded
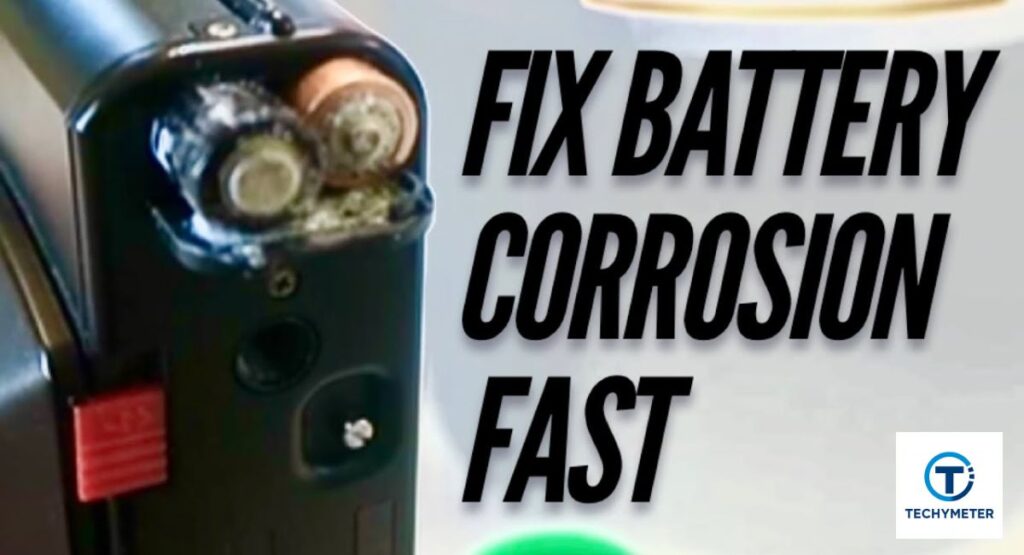
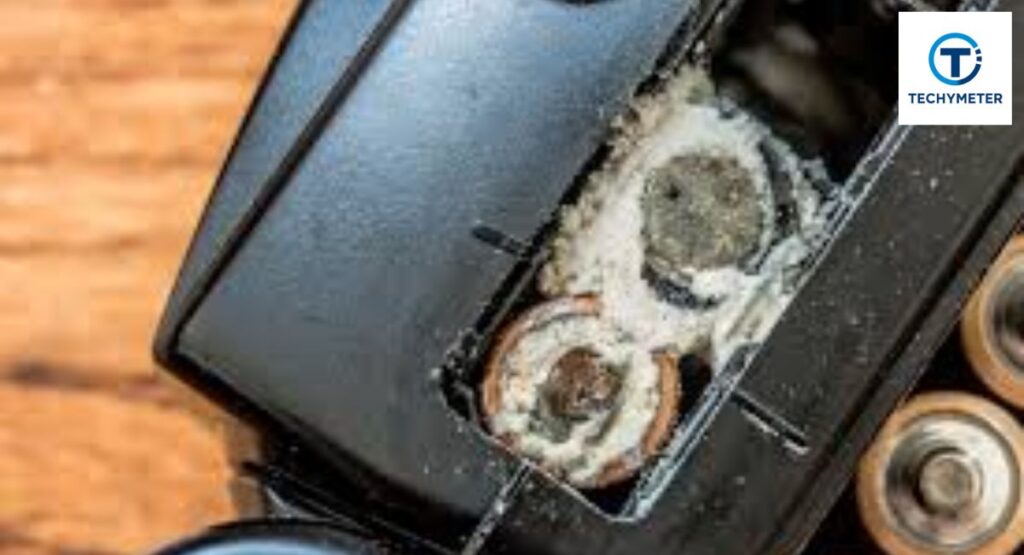
The most obvious signs of battery corrosion in camera compartments are white powder and camera battery residue coating the inside of the compartment. You may also notice a crystalline residue camera battery buildup forming a feathery texture around the terminals.
Your camera may refuse to turn on at all, or the batteries may feel stuck inside — a classic case of battery welded to terminal corrosion. If your camera worked fine before storage and now does nothing with fresh batteries, check the compartment immediately for signs of battery corrosion.
Impact of Battery Corrosion on Cameras
The corroded terminal damage inside a camera goes far deeper than most people realize, blocking electrical current from flowing properly. Your camera simply cannot receive power, even with brand new batteries, when alkaline battery leakage camera chemicals coat the contacts completely.
In severe cases, the camera battery compartment corrosion residue spreads along internal wiring and reaches the main circuit board, making repair very expensive. A $3 bottle of vinegar and basic tools can save a $500 camera — that is the real value of understanding battery corrosion removal camera techniques early.
What Tools and Materials Do You Need to Clean Camera Battery Corrosion?
Having the right tools needed to clean camera battery corrosion before you start makes the whole process smoother and safer for everyone. You will need rubber gloves, safety glasses, a protective mask, small screwdrivers, needle-nose pliers, a camera repair tool, and wire cutters ready on your workbench.
For cleaning materials, vinegar for corrosion neutralisation is your most important supply, alongside isopropyl cleaning alcohol for final degreasing. A small paint brush, cotton swabs, and non-oxidising grease camera contacts product from any hardware store completes your cleaning kit perfectly.
How to Fix Corroded Battery Terminals

How to fix corroded camera battery terminals depends entirely on how bad the damage actually is inside your camera. This guide covers two scenarios: severe corrosion requiring full terminal replacement and minor oxidation where cleaning alone restores full functionality.
The key to successful camera battery terminal restoration is patience and working methodically through each step below without rushing anything. Thousands of cameras that looked destroyed have been brought back to life using exactly these techniques, and yours can be too.
Step 1: Parts and Tools
Gather everything before you touch the camera, including replacement battery holder terminals sourced from old battery holders or purchased directly from eBay. Your tool list includes rubber gloves, safety glasses, small screwdrivers, needle-nose pliers, wire cutters, and a soldering iron.
Having everything within arm’s reach means you never have to pause mid-repair with corroded materials sitting exposed on your workbench. A well-prepared workspace is the foundation of every successful camera battery terminal repair at home.
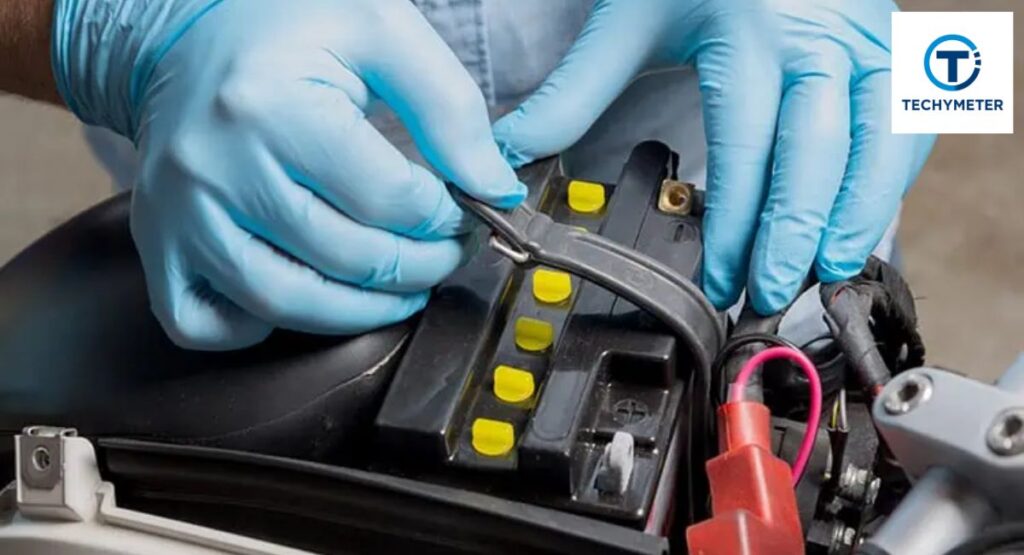
Step 2: Removing Leaking Batteries
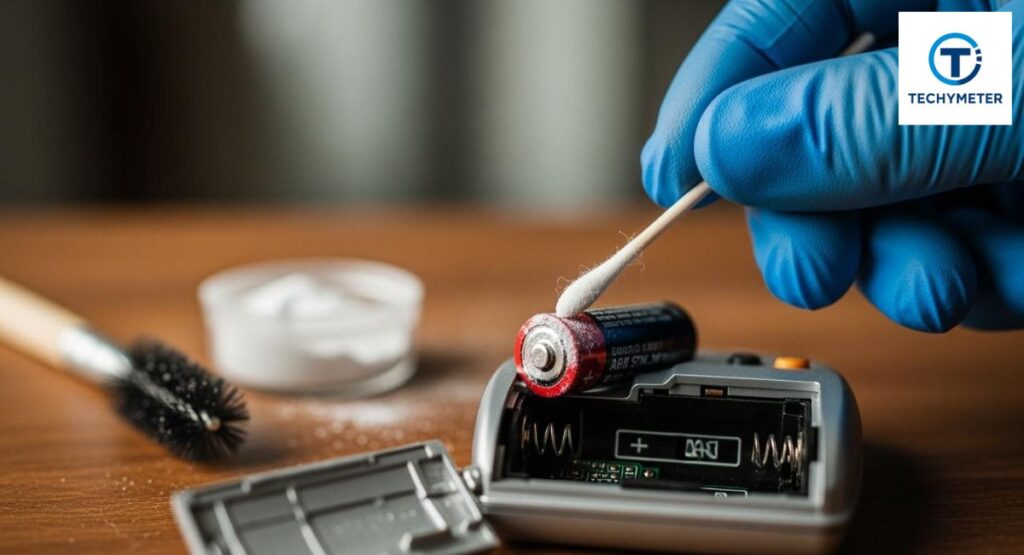
Never use your bare fingers to remove leaking batteries from a corroded camera, as potassium hydroxide irritates skin badly on contact. Put on your rubber gloves and safety glasses first, then use a small screwdriver to pry the batteries loose gently.
If the battery is welded to the terminal, corrosion has fused them in place. Use needle-nose pliers with firm, steady pressure to free them. Place removed batteries immediately into a sealed plastic bag for safe disposal. Corroded batteries should be disposed of away from children and pets.
Step 3: Removing the Corroded Terminals
Slide a thin screwdriver between the top of the terminal and the battery holder, then gently bend the terminal outward away from the housing. Grip it firmly with your needle-nose pliers camera repair tool and pull it free with steady, controlled pressure.
If the terminal has soldered battery terminals, connections, carefully desolder or cut the wires first before pulling the terminal completely free. Never leave corroded terminals sitting on your workbench where potassium hydroxide residue can spread further onto other surfaces.
Step 4: Cleaning the Battery Cover
Apply white vinegar for corrosion neutralisation directly to any remaining potassium hydroxide residue inside the battery cover using a small paint brush for precision. The acid neutralisation reaction works quickly, and you may notice a very slight fizzing, confirming it is working.
If your battery holder is removable, wash it gently under running water afterward, then finish by wiping everything down with isopropyl alcohol camera cleaning solution. This two-step approach of vinegar followed by isopropyl alcohol gives you the most thorough camera battery holder cleaning result possible.
Step 5: Sourcing Some Battery Terminals
If the corrosion is severe enough to require full battery terminal replacement, you have two solid options available to you right now. First, salvage terminals from an old spare battery holder, and second, search eBay for replacement battery holder terminals matching your camera model.
Before installing donor terminals, lift any tabs on the back and carefully desolder any attached wires using your soldering iron. Take your time here because the right terminal fit is absolutely critical for the camera battery terminal repair to work properly long term.
Step 6: Modifying the Battery Terminals
New terminals rarely fit perfectly straight out of the box, so always test-fit each terminal into the battery holder grooves first. If it does not slide in cleanly, trim the sides carefully using wire cutters until the fit improves noticeably.
A Dremel tool helps if you need to cut a small slit into the terminal for a tighter groove fit inside the holder. Always test the fit again after each modification because a snug terminal fit is essential for reliable corrosion-free camera battery repair results.
Step 7: Putting the Battery Terminals in Place
Orientation matters enormously when you replace battery terminals inside a camera — the spring section must contact the negative end, and the flat section contacts the positive end. Check the bottom of the battery holder for orientation markings if you are unsure about correct placement.
Push each terminal firmly into its grooves and bend it slightly if the fit feels loose to tighten the grip inside the holder. Then solder battery terminals wires securely to the solder points on each new terminal using your soldering iron for a clean, reliable connection.
Step 8: Add Some Fresh Batteries and Test
Before closing anything up, insert fresh batteries and power the camera on to confirm your camera battery terminal repair was successful. This test-first approach is the smartest move in the whole repair process and saves you from reassembling everything only to discover a problem.
If the camera powers up normally, reattach all screws covers and panels, then run one final test after full reassembly. Go back and read the prevention section of this guide immediately so you never have to repeat this battery corrosion repair process again.
Step 9: Fixing Oxidised and Minor Corroded Terminals
Not every case requires full terminal replacement — minor oxidised camera terminals can often be cleaned and restored beautifully without buying any new parts. Remove the old battery safely using a screwdriver while wearing rubber gloves and examine the terminals closely for structural damage.
If the metal beneath the surface corrosion looks structurally sound, you are in luck, and a good, clean battery contact camera session is all you need. Battery contact restoration through cleaning alone is faster, cheaper, and just as effective for mild camera battery corrosion cases.
Step 10: Neutralise the Acid
Pour a small amount of white vinegar into a bottle cap, then dip a small paint brush into it and apply carefully to each corroded terminal surface. The neutralisation of potassium hydroxide reaction happens almost immediately, and a very slight fizzing confirms that the acid neutralisation is actively working.
Wipe away the excess vinegar with a clean cloth or cotton swab, then allow the terminals to dry completely before moving forward. Never skip the drying time, as proceeding with wet terminals can significantly interfere with the next step of cleaning battery contacts.
Step 11: Cleaning Up the Terminals
Use a small fine file and work gently across the terminal surface to file oxidised terminals back to bare shiny metal underneath. An emery board camera terminal cleaning tool works equally well if you do not have a dedicated metal file available at home.
Once clean, wipe the terminals down thoroughly with isopropyl alcohol camera cleaning solution to remove all remaining residue and oils. Finally, apply a thin layer of non-oxidising grease to the camera contacts product to help prevent future battery terminal oxidisation from forming again quickly.
Step 12: Add a Fresh Battery and Test
Insert a fresh battery and power on the camera to confirm your step-by-step camera battery corrosion cleaning process was a complete success. Test all camera functions briefly before screwing the cover back into place to make sure everything is working perfectly.
Once confirmed working, reassemble everything fully and run one final test to be completely sure. You have just completed a full camera battery terminal repair at home using basic tools and household supplies — that is genuinely something to feel proud of accomplishing yourself.
Using Anti-Rust Sprays for Corrosion Prevention
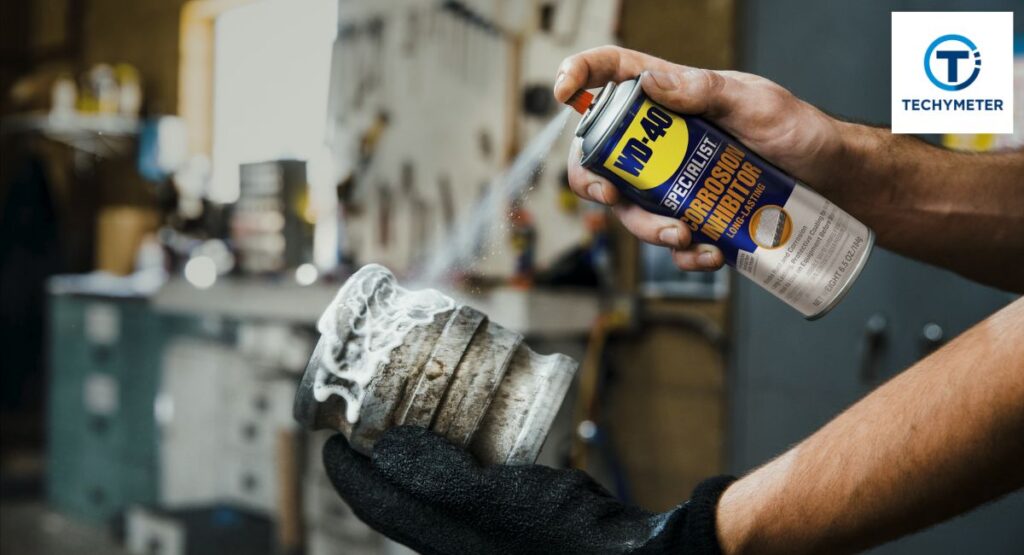
Anti-rust sprays are one of the smartest investments any camera owner can make for long-term protection against camera battery corrosion. Products like WD-40 Specialist Corrosion Inhibitor create a protective barrier over battery holder terminals that blocks moisture and oxygen from reaching the metal surface.
Applying a light coat to your camera battery contacts after cleaning the camera battery compartment safely dramatically reduces the risk of future battery corrosion and camera housing damage. These sprays are inexpensive and widely available at any hardware store across the USA, making them an easy addition to your camera battery maintenance tips routine.
Advantages of Polymer Anti-Corrosion Cameras
Polymer anti-corrosion camera technology represents the next level of protection for serious photographers who want lasting camera battery damage repair prevention. Cameras built with polymer-coated internal components resist moisture, humidity, and alkaline battery leakage far more effectively than standard uncoated models.
The long-term cost benefits are substantial as a polymer anti-corrosion camera saves you significantly on battery corrosion camera repair costs over time. You spend less on camera battery terminal replacement, cleaning supplies, and professional repairs, making it one of the smartest financial decisions a photographer can make.
Can a Camera Still Work After Battery Corrosion?
Can a corroded battery damage a camera beyond repair? The honest answer is sometimes yes and sometimes no, depending entirely on how far the damage has spread inside. If the camera battery’s corrosion and white powder buildup are caught early, and corrosion has not reached internal wiring, full recovery is very achievable.
However, when the camera is not working after battery corrosion, the outcome you face the outcome depends on how deeply the potassium hydroxide has penetrated the internal components. Always get a professional assessment before giving up entirely, as many reputable camera repair shops across the USA offer free initial evaluations.
How to Prevent Battery Corrosion in Your Camera
The single most important rule of preventing camera battery corrosion is simple — remove batteries for storage whenever you plan to put your camera away for more than a week. This one habit alone eliminates the vast majority of camera battery seal corrosion cases that repair technicians see every single day.
Beyond removal, always store batteries at room temperature in a cool, dry place and never mix battery types inside the same camera for any reason. Replace all batteries at once rather than swapping individual cells, and check your compartment every few months for early battery corrosion camera symptoms before they cause serious damage.
Best Practices for Camera Battery Storage and Maintenance
Proper battery storage tips extend the life of both your batteries and your camera significantly, saving you money in the long run. Store spare batteries in a dedicated battery case at room temperature and always check expiry dates before inserting any battery into your camera.
Regular camera battery maintenance tips also include wiping battery contacts with a dry cloth every few months, even when no corrosion is visible to the eye. A thin layer of non-oxidising grease applied periodically keeps contacts clean and conductive, while a silica gel packet inside your camera bag controls moisture during long remove batteries for storage periods.
| Best Practice | Frequency | Benefit |
| Remove batteries during storage | Every time | Prevents alkaline battery leakage |
| Wipe battery contacts clean | Every 3 months | Maintains good conductivity |
| Apply non-oxidising grease | Every 6 months | Prevents oxidised terminals |
| Check battery expiry dates | Before every use | Reduces leakage risk |
| Store batteries at room temperature | Always | Extends battery lifespan |
| Use silica gel in a camera bag | During storage | Controls moisture and humidity |
When to Seek Professional Repair for Camera Battery Corrosion
Knowing when to replace camera battery terminals yourself versus calling a professional is an important judgment call every camera owner must make. If corrosion has spread beyond the battery compartment into internal wiring or circuit board areas, DIY repair is no longer safe or practical to attempt.
Signs that you need professional help include burning smells, visible internal corrosion, or a camera that still does not work after completing all 12 step-by-step camera battery corrosion cleaning steps above. Brands like Canon, Nikon, and Sony all offer authorized repair services across the USA, and always check your warranty before paying for any professional camera battery corrosion repair out of pocket.
Conclusion
How to clean battery corrosion in a camera is a skill every camera owner should know, and this guide has walked you through all 12 steps from safely removing leaking batteries to testing your fully restored camera. You now know what potassium hydroxide does to your camera and how to use vinegar for corrosion neutralisation effectively at home.
Most importantly, you now know how to prevent this from ever happening again by following simple habits like removing batteries for storage and storing batteries at room temperature. If this guide helped you save your camera, share it with a fellow photographer who might need it, and drop any questions about your specific camera model in the comments below.
FAQs
Q1: How do you clean battery corrosion in a camera at home?
Use white vinegar applied with a small paint brush to neutralise potassium hydroxide, then clean with isopropyl cleaning alcohol and file oxidised terminals back to bare metal. Follow all 12 steps in this guide for the best and safest results possible.
Q2: What is the white powder inside my camera battery compartment?
The white powder camera battery residue is potassium carbonate formed when potassium hydroxide from leaking alkaline batteries reacts with carbon dioxide in the surrounding air inside your compartment.
Q3: Does vinegar clean camera battery corrosion?
Yes — vinegar battery corrosion removal works because vinegar is acidic and effectively neutralizes battery acid, camera alkaline potassium hydroxide residue left behind by leaking batteries inside your camera compartment.
Q4: How long does it take to clean camera battery corrosion?
Minor oxidised camera terminals can be cleaned in 20 to 30 minutes, while severe cases requiring full battery terminal replacement may take 1 to 2 hours, depending on your experience and the extent of corroded terminal camera damage.
Q5: Will camera battery corrosion void my warranty?
It depends on the manufacturer, so contact your camera brand directly before attempting any camera battery terminal repair at home if your camera is still under active warranty coverage to avoid accidentally voiding your protection.
Q6: Can I use baking soda to clean camera battery corrosion?
Baking soda is sometimes suggested, but white vinegar is a more reliable and proven choice for neutralizing potassium hydroxide residue inside your camera. Stick to vinegar battery corrosion removal for the safest and most effective camera battery compartment cleaning results.
Q7: How do I know if my camera battery terminals need replacement or just cleaning?
If the terminal metal looks structurally intact beneath the surface corrosion, then clean battery contacts with a camera using vinegar and a file is all you need. However, if the terminal is visibly crumbling, bent, or broken, then full camera battery terminal replacement is the only reliable solution.
Q8: Is it safe to use a corroded camera without cleaning it first?
No — using a camera with an active battery seal corrosion forces electrical current through damaged contacts, which can permanently destroy internal circuitry beyond any repair. Always complete the safe way to clean camera battery terminals process before attempting to power your camera on again.
Q9: How often should I check my camera battery compartment for corrosion?
Inspect your camera battery holder cleaning area every three months as part of your regular camera battery maintenance routine, even when everything looks fine. Catching early battery corrosion camera symptoms before they spread is always far easier and cheaper than dealing with severe corroded terminal camera damage later.
Q10: What is the best cleaner for camera battery corrosion?
The best cleaner for camera battery corrosion is a combination of white vinegar for acid neutralisation, followed by isopropyl alcohol for final residue removal and degreasing. Together, these two household supplies handle virtually every level of battery corrosion removal and camera damage quickly, safely, and affordably.
Read More
7 Proven Ways to Access Traffic Camera Footage for Free
How to Attach a Camera to a Tripod in 10 Easy, Perfect Steps
Easy Steps Connecting a Security Camera with an RCA Cable to a TV
Powerful Blink Camera Batteries That Last Shockingly Long