Cloudy skies often scare beginners. You may think dull light ruins photos. However, that idea is misleading. When you learn what camera settings for a cloudy day work best, you unlock powerful creative control. Soft light, balanced tones, and fewer shadows help you capture cleaner images.
In fact, many professionals prefer overcast conditions. You can master how to shoot photos on a cloudy day with simple adjustments. This guide shows you practical steps, real examples, and expert techniques. By the end, you will know how to get good photos on a cloudy day with confidence.
Master camera settings for cloudy days by using low ISO, wide aperture, proper exposure, and soft light techniques to turn dull overcast scenes into bright, sharp, and professional-looking photos.
In this article, we discuss “camera settings for a cloudy day.”
Why Cloudy Days Are Actually Perfect for Photography
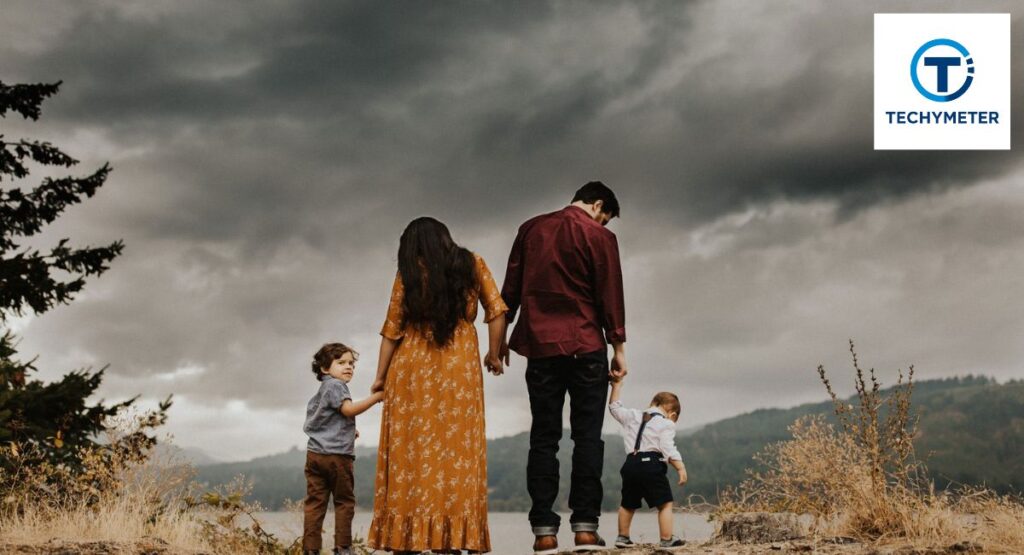
Cloudy skies create soft diffused light photography conditions that feel natural and flattering. You avoid harsh shadows and blown highlights. That makes overcast photography settings ideal for portraits, landscapes, and street shots. You get even tones across the entire frame.
Moreover, you gain creative freedom. You can focus on composition rather than fighting sunlight. Many photographers use cloudy weather photography tips to improve consistency. If you wonder if you can take good photos on cloudy days, the answer is yes, often better than on sunny days.
Understanding Light on Overcast Days (And Why It Works in Your Favor)
Clouds act like a giant diffuser. They spread sunlight evenly across the scene. This improves natural light photography in overcast conditions and reduces contrast. You get smoother skin tones and balanced highlights, which helps portraits look more professional.
However, the light direction becomes subtle. You must observe brightness. Learning how to adjust exposure on a cloudy day helps avoid flat images. Use histogram exposure correction to ensure proper brightness and avoid dull tones.
Best Camera Settings for a Cloudy Day: Quick-Start Cheat Sheet
You need a simple starting point when shooting quickly. The table below shows the best camera settings when it’s overcast for different situations. These values help you understand manual mode settings for cloudy weather clearly.
| Scene Type | ISO | Aperture | Shutter Speed |
| Portraits | 100–400 | f/2.8–f/4 | 1/200 |
| Landscape | 100 | f/8–f/11 | 1/60 |
| Street | 200–800 | f/4–f/5.6 | 1/250 |
These values improve camera exposure in cloudy weather and reduce guesswork. If you ask what ISO I should use on an overcast day, start low and increase slowly based on light.
How to Set the Right ISO for Cloudy and Overcast Conditions

ISO controls brightness and noise. On cloudy days, you often increase ISO slightly. The best ISO for a cloudy day usually stays between 100 and 800, depending on light strength. Lower ISO keeps images sharp and clean.
However, darker clouds require a higher ISO. Modern cameras handle noise well due to the mirrorless camera low light performance. Still, apply noise reduction to high ISO photography carefully during editing. This helps avoid grain while maintaining detail.
Camera Settings for Cloudy Day Portrait Photography
Portraits look beautiful in soft light. Cloudy day portrait settings help you get smooth skin and balanced tones. Use a wide aperture for overcast conditions, like f/2.8, to create background blur. This improves natural light portrait photography and adds a soft professional look.
Shutter speed should stay fast to avoid blur. A safe shutter speed for a cloudy day for portraits is 1/200. Keep ISO low when possible for clean images. Many photographers practicing overcast portrait photography prefer shooting in RAW for better skin tone editing later.
Choosing the Right Location on an Overcast Day

Location changes everything when taking pictures outside on a cloudy day. Open areas give flat light, but shaded edges create depth. Use walls, trees, and buildings to shape light. These outdoor photography lighting tips help create professional portrait lighting without studio gear.
How to Position Your Subject Toward the Brightest Part of the Sky
Always look for the brightest part of the sky. Place your subject facing that direction. This technique improves how to get good photos on a cloudy day because it creates catchlights in the eyes and better facial lighting with natural contrast.
How to Create Directional Light With Overcast Skies
You can create a directional light even on cloudy days. Stand your subject near building edges or doorways. This blocks light from one side and creates shadow depth. This method is widely used in photo composition on overcast days and portrait photography.
How to Brighten Your Subjects When It’s Too Dark

Sometimes clouds become too thick. Photos look dark and lifeless. This is when you must learn how to make cloudy day photos look bright using exposure and light tools. Adjust exposure slightly and check your histogram for balanced brightness.
Many professionals use fill flash outdoor photography or reflectors. These tools bounce light back onto the subject. This technique improves photography in low light, overcast conditions, and prevents dull skin tones and grey-looking images.
Using Exposure Compensation to Fix Dark Shots
Exposure compensation is the fastest fix. Increase exposure by +0.3 or +0.7 to brighten photos. This technique solves why photos look dull on cloudy days and helps maintain natural tones without overediting later.
Using a Reflector or Fill Flash on Cloudy Days
Reflectors bounce soft light onto the face. Silver reflectors increase brightness while white reflectors keep light soft. Many photographers wondering should I use flash on a cloudy day or use low-power flash for natural results.
Cloudy Day Landscape Photography: Settings, Tips & Composition Tricks
Landscapes look dramatic under clouds. Use a small aperture like f/8 or f/11 for sharp images. These cloudy-day landscape settings help capture detail in the sky and foreground. This also improves dramatic cloud photography results.
Composition becomes very important in flat light. Add foreground elements like roads, rocks, or trees. These photography tips for grey weather improve depth and make landscapes more interesting even without sunlight.
| Landscape Condition | Aperture | ISO | Shutter Speed |
| Bright overcast | f/8 | 100 | 1/125 |
| Dark overcast | f/11 | 200 | 1/60 |
| Storm clouds | f/11 | 400 | 1/200 |
How to Use a Tripod for Sharp Cloudy Day Shots
A tripod helps keep images sharp in low light. It allows you to use low ISO and a slower shutter speed. This method improves tripod use for low-light photography and keeps image quality high.
Tripods are also useful for long exposures, like moving clouds or water. Many professionals shooting photography in all weather conditions always carry a tripod because it increases sharpness, dynamic range, and creative control.
Motion Blur Techniques for Creative Cloudy Day Photography
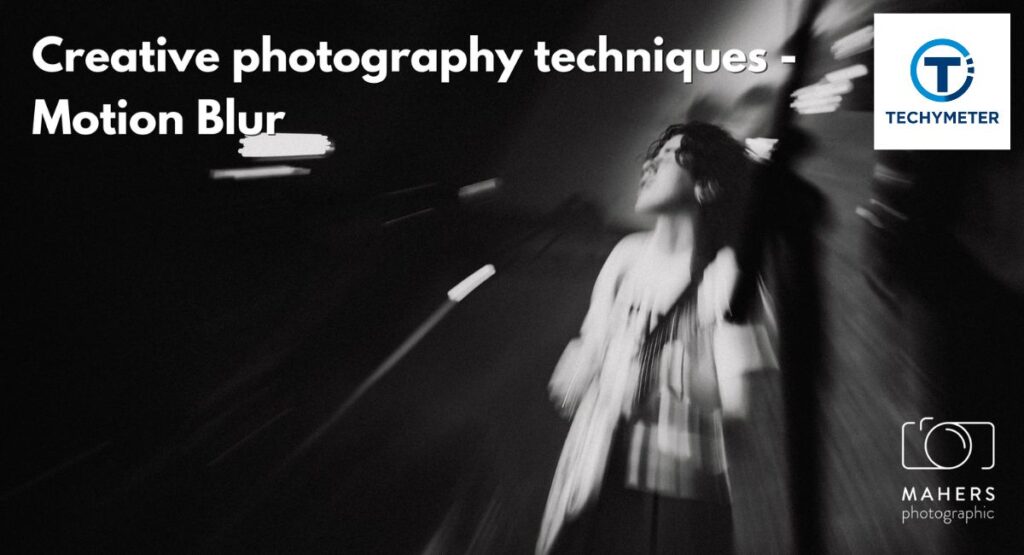
Cloudy weather is perfect for slow shutter experiments. You can blur moving subjects like people, cars, water, or clouds. This technique works well when the shutter speed on a cloudy day becomes slower due to low light. It adds motion and story to otherwise flat scenes.
Use a tripod and a slow shutter, like 1/10 or 1 second. This creates artistic blur while keeping the background sharp. Many photographers use this style in soft diffused light photography and dramatic cloud photography to create emotion and movement.
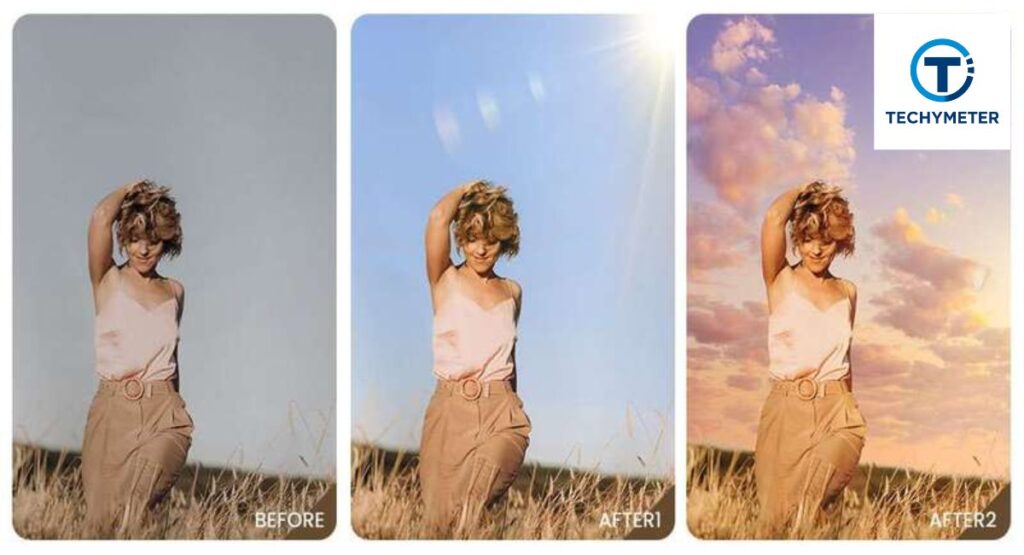
Using Color Creatively to Make Overcast Photos Pop
Cloudy scenes often look grey and flat. That is why color becomes very important. Bright colors stand out strongly against grey backgrounds. This technique improves the color grading of grey sky photos and makes images look alive and vibrant.
You should look for red, yellow, blue, and orange subjects. These colors create contrast in the photo composition of overcast day scenes. If you understand this trick, you will never worry about how to avoid grey, dull photos overcast again.
Adding Pops of Color to Your Photographs
Bright jackets, umbrellas, cars, and signs add life to photos. This trick is very useful when taking pictures outside on a cloudy day because the background is neutral and colors become the main subject.
How Bright Colors Improve Tonal Balance in Grey Scenes
Grey scenes have low contrast. Bright colors fix this problem by balancing tones. This improves how to make cloudy day photos look bright and creates strong visual interest without changing camera settings.
Shooting Black and White on Cloudy Days for Dramatic Results
Cloudy light is perfect for black and white photography. Soft light creates smooth transitions between shadows and highlights. This is why many photographers prefer golden hour vs overcast photography for black and white work.
Black and white removes color and focuses on texture, shape, and emotion. This technique works very well in street and portrait photography. It is a powerful solution if you struggle with why photos look dull on cloudy days.
Advanced Location Tips for Overcast Photography
Professional photographers always look for good locations first. Light alone is not enough. Background, reflections, and framing matter a lot in photography in all weather conditions, and especially in cloudy weather.
Look for places with open shade and directional light. These places improve natural light photography in overcast conditions and create depth. Good locations can completely change your results, even if you use basic DSLR settings for a grey sky.
Finding Tunnels, Porches, and Covered Spaces for Soft Light
Covered areas create soft directional light from one side. This lighting style is commonly used in overcast portrait photography because it shapes the face and adds depth without harsh shadows.
Best Outdoor Locations for Cloudy Day Portraits
Parks, city streets, parking garages, and building entrances work very well. These locations improve lens selection for overcast shooting and help create background blur and depth in portraits.
Drive Mode and Burst Settings for Cloudy Day Shooting
Cloudy weather often means lower light and a slower shutter speed. Using burst mode helps capture sharp photos when subjects move. This technique is useful in photography in low light, overcast, and action photography. It increases the chance of getting one perfectly sharp image.
Drive mode also helps in portrait photography. Small movements can blur photos at slower shutter speeds. Professionals using manual mode settings for cloudy weather often combine burst mode with continuous autofocus for sharper results.
How to Edit Cloudy Day Photos for a Light and Airy Look
Editing is very important in cloudy photography. Photos may look flat straight out of the camera. This is normal. You must adjust exposure, contrast, and colors. Shooting in RAW helps a lot in the RAW photo editing cloudy day workflow.
Most photographers use Adobe Lightroom overcast presets to speed up editing. You can increase exposure, reduce highlights, raise shadows, and adjust white balance. This is the best solution for editing flat photos in Photoshop and Lightroom.
Best Editing Adjustments for Overcast Images
The most important adjustments are exposure, contrast, highlights, shadows, clarity, and vibrance. These adjustments help fix camera exposure in cloudy weather and improve depth and color balance in photos.
How to Use Adobe Lightroom or Photoshop for Cloudy Day Photos
In Lightroom, start with the Basic panel, then Tone Curve, then HSL panel. These tools help in color grading grey sky photos and improving skin tones and landscape colors naturally.
Common Mistakes Photographers Make on Cloudy Days (And How to Fix Them)
The most common mistake is underexposure. Cameras often make photos too dark in cloudy weather. Learning how to adjust exposure on a cloudy day solves this problem quickly. Always check the histogram to ensure correct exposure.
Another mistake is wrong white balance. Use proper white balance overcast sky settings to avoid blue or grey color tones. This is very important in photography tips for overcast conditions and portrait photography.
| Mistake | Problem | Solution |
| Underexposed image | Dark photo | Increase exposure |
| Wrong white balance | Blue/grey skin | Use cloudy WB |
| Slow shutter | Blur | Increase shutter |
| High ISO | Noise | Use tripod |
Cloudy Day Photography for Beginners: Simple Tips to Get Started
If you are new, start simple. Use aperture priority mode and set ISO 200–400. These beginner overcast photography settings help you learn faster without confusion. Practice in parks, streets, and near buildings.
The most important beginner tip is practice and observation. Learn light direction and brightness. Understanding light can help you comprehend the exposure triangle and enhance all of your images, regardless of the weather.
How to Make Clouds Work in Your Favor as a Natural Light Source
Clouds are not a problem. They are a giant softbox in the sky. When you understand this, natural light photography overcast becomes easier and more professional. You just need to find the brightest part of the sky and use it as your light source.
This technique improves soft diffused light photography and helps create balanced images. Many professionals who practice shooting photos on cloudy days use clouds to control contrast, reduce harsh shadows, and create cinematic lighting.
Camera Gear Recommendations for Overcast and Low-Light Conditions
The right gear helps a lot in cloudy weather. Fast lenses like f/1.8 or f/2.8 work best in photography in low light overcast because they allow more light into the camera. This improves image quality and background blur.
Cameras with good low-light performance also help reduce noise. Using proper lens selection for overcast shooting and a tripod improves sharpness and color quality when taking pictures outside on a cloudy day.
| Gear | Why It Helps |
| 50mm f/1.8 lens | Good for portraits |
| 24-70mm lens | Good for all situations |
| Tripod | Sharp images |
| Reflector | Bounce light |
| External Flash | Extra light |
FAQs
What is the best ISO for a cloudy day?
The best ISO for a cloudy day is usually between 100 and 400 in bright overcast and 400 to 800 in dark overcast. This helps maintain brightness while controlling noise in overcast photography settings.
Should I use auto white balance on cloudy days?
Auto white balance works fine, but using white balance overcast sky mode gives warmer and more natural colors. This helps fix why photos look dull on cloudy days and improves skin tones.
Is a cloudy day good for photography?
Yes, cloudy weather is great for portraits and landscapes. The light is soft and even. This makes natural light portrait photography and cloudy day landscape settings much easier to manage.
What aperture is best for overcast portraits?
The best aperture for overcast conditions for portraits is between f/2.8 and f/4. This creates background blur and sharp subject focus, which improves overcast portrait photography.
What camera settings are best for cloudy days?
Use ISO 100–400, aperture f/2.8–f/5.6, and shutter speed around 1/125–1/250 for balanced exposure. Adjust slightly based on light and use exposure compensation to avoid dull images.
Is f/2.8 or f/4 better?
f/2.8 is better for portraits and low light because it lets in more light and creates blur. f/4 works better when you need slightly more depth and sharper group shots.
What is the 20-60-20 rule in photography?
The 20-60-20 rule suggests 20% highlights, 60% midtones, and 20% shadows for balanced exposure. It helps create depth and avoids flat-looking images, especially in cloudy conditions.
What camera settings are needed for a dull day?
Increase ISO to 200–800, use a wider aperture like f/2.8–f/4, and a slower shutter if needed. Also, adjust exposure compensation to brighten and avoid grey, lifeless photos.
Conclusion
Cloudy weather is one of the best conditions for photography if you know the right settings. Once you understand what camera settings to use for a cloudy day to use, your photos will look sharp, bright, and professional even without sunlight.
Always remember the basics of the exposure triangle, proper camera exposure in cloudy weather, and good composition. When you master these skills, you will never worry about cloudy weather again, and you will confidently practice photography in all weather conditions.
Read More
Best Compact Cameras for Travel in 2026 (No Regrets)
What Is the Best Camera for Photography? Don’t Buy Until You Read This
How to Add Cameras to Your Blink Network: Complete Step-by-Step Guide
The Best Camera Bag for Women – Where Functionality Meets Feminine Style